My workshop is just downstairs from The Honest Wargamer, so I made him a set of scenery. I built it mainly with recycled bits and junk. I also used the awesome Armour Bundle so you can see how versatile it is. This is a single full set of terrain that complies to the European tournament rules for Warhammer 40,000. The Honest team run events and do streaming about 40k and Age of Sigmar, so check out their channels.
The Honest Wargamer on Twitch.

This gallery has a few sections. Directly below are some images of the wall set up in the tournament hall, ready to game on. Rob the host of The Honest Wargamer set up the table as if an Overrun mission is about to be played. You can see the objective markers that they sell.
Below those three images are some where I did a nice photography set up. After that is a the step by step on how I built and painted the wall and scatter terrain. Finally at the end there is a big dump of texture close-ups I took.


Here are some shots with dramatic lighting!


These next images are of the build. For the wall I used a bunch of cheap and recycled parts. I built a frame from wood kebab skewers held together with electrical wire from old cables. I used super glue to set the joins, then glued the frames to some wood bases. Then I added cereal packet card. I glued this with super glue. I use cheap super glue from Poundland.
Then I used the Armour Bundle to add some extra detailed plates. I chose to swap out the Bonus Bits that come with the set for more armour plates, I substituted them for the Rhebok Hatches set.
The smaller scatter terrain are Ramshackle Scrap parts. I glued them down to wooden based with a hot glue gun.


Next I added some more texture over the bases and plates. I used sand mixed with polyester resin, but only because I had a bunch spare. PVA glue and sand is just as good.


As for painting, the next few images are a step by step on how I did it. First paint the whole thing rusty brown.

Next I added splatter with a dish washing brush. I used cheap orange acrylic craft paint.

Once that was dry I washed the whole thing in a black brown paint mix with added pva and water.

I then added a layer of silver dry brushed on. I love those streaks! I used an old wirey hogs hair brush.

Lovely as they are, the brush streaks can make the model look the wrong scale. I added a layer of splatter using my base brown colour. This helps break up the strokes and make it look less like just messy brushwork. I did a good amount of the looseness of the brush marks though, I dont want to totally hide them, just knock them back a bit.

I then did a layer of black brown wash. This is a controlled application to add runs, shadows and emphasise details.

Next up is some more orange splatter. I wanted to show this image and the one after. The first image below shows the paint as I just put it on, the second one after the paint has dried. You can see the big change. The paint can look awful when it goes on, but as it dries it becomes more subtle. This is an advantage of cheap paints, but you have to trust the porocess. Be bold, it will look better whn its dry!


For the next image, I made some paint. I ground a little pigment from a cheap art pastel. I mixed this with some pva for a really nice rich terracotta red. Lovely!

The final step on the paintwork was to add some more black oil dribbles, runs and splatter. Finished!

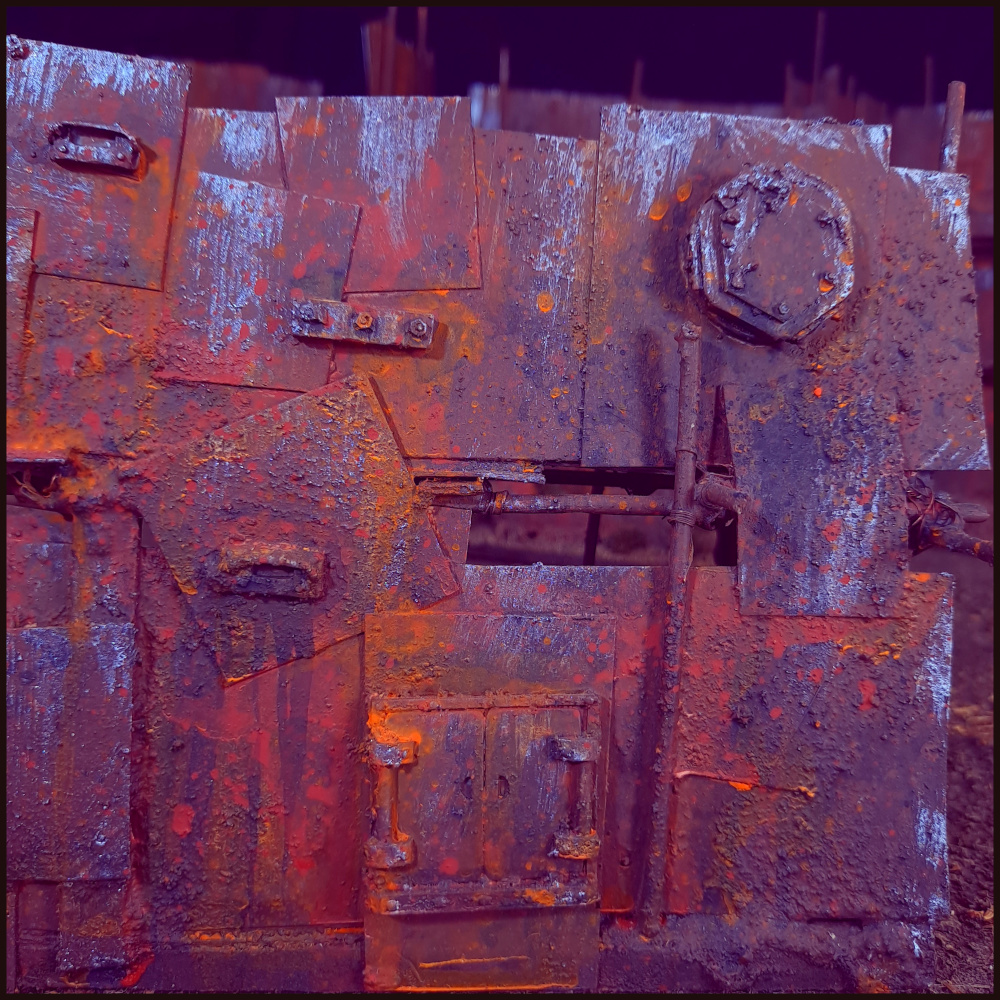
Below this are close-ups of the wall. Marvel at the lovely textures. Oooh pretty splatter!